
Hip pain can be frustrating, and not all hip pains are the same. I personally experienced Femoroacetabular Impingement (FAI) pain myself, and it is not fun. Indeed, this type of pain can stop you from training, affect your sleep, make sitting uncomfortable, and eventually impact your quality of life. Over the years, I’ve seen many active people spend months treating the symptoms without understanding the actual cause. If you’re experiencing groin pain, hip stiffness, pinching during squats, or discomfort after prolonged sitting, FAI may be worth investigating. What Is Femoroacetabular Impingement? In simple terms, Femoroacetabular Impingement (FAI) occurs when there is abnormal contact between the femoral head (the ball) and the acetabulum (the socket) of the hip joint. As with any tissue that gets overstimulated, this can result in irritation and inflammation, leading to damage to the labrum, cartilage, and surrounding tissues over time. In some cases, if left unmanaged, it may contribute to the development of early hip osteoarthritis. The symptoms that most people come up with when experiencing FAI are: Deep groin pain Hip stiffness Clicking Catching Locking sensations Pain when sitting for extended periods. Those symptoms are typically aggravated by activities involving Deep hip flexion Squatting Running Kicking Cycling Getting in and out of a car. The Different Types of FAI As we have already seen in the antirotated and retroverted hip presentations, we are all different, and even a Femoroacetabular Impingement can present differently. Let’s have a look at the different types of Femoroacetabular Impingement. Cam Impingement Cam impingement occurs when the femoral head is not perfectly round. During hip movement, particularly flexion and internal rotation, the abnormal shape creates increased pressure against the edge of the socket. This is the most common form seen in young athletic populations. Pincer Impingement Pincer impingement occurs when the acetabulum provides excessive coverage over the femoral head. The socket effectively “overhangs,” increasing the likelihood of compression during movement. Mixed Impingement Mixed FAI is the most common presentation clinically. In this situation, both cam and pincer characteristics are present simultaneously, resulting in a combination of abnormal contact from both the femur and the acetabulum. Who Is More Likely to Develop FAI? The common ground for an FAI presentation includes young and middle-aged active individuals. A higher prevalence is seen among athletes participating in sports that involve: Repetitive hip loading during adolescence Football Hockey Soccer Martial arts Dance Running. This evidence shows that sports activities play a crucial role in FAI presentation, but it is also important to consider that genetic factors could be involved. On the other hand, as per any physical structural presentation, not all the people who present with a FAI may experience pain. Many people have structural changes visible on imaging but remain completely symptom-free. Is a Scan Worth It? This is one of the most common questions I get asked when someone presents with some sort of ongoing pain or even acute discomfort. My answer is usually: it depends on your symptoms and how long they have been lingering around. Why I don’t recommend a scan as a first thing to go for (unless I am suspicious of something that I can’t treat directly) is because a scan may find an abnormality in the body, but that doesn’t mean that what we see is actually the source of the pain. In fact, many people may have a FAI presentation and have no symptoms at all. Therefore, a scan alone should never determine treatment decisions. Sp, a diagnosis of FAI should combine: Clinical history Physical examination Symptom presentation Imaging findings So yes, a scan should support the diagnosis, not create it, or it would be really chaotic to define why someone is experiencing pain, and create a treatment plan for it. If You Need Imaging, Which Scan Is Best? Step 1: X-Ray For most people, a standard pelvic and hip X-ray is the first and most appropriate imaging investigation. X-rays are excellent for identifying the bony shapes associated with cam and pincer impingement and are considered the primary imaging modality in the assessment of FAI. The downside of X-rays is that they involve radiation, so if possible, avoid them. Step 2: MRI If symptoms are there for a prolonged period of time, and exercise therapy is failing to restore functionality, an MRI becomes extremely valuable. MRI can assess: Labral tears Cartilage damage Joint degeneration Other soft tissue causes of hip pain Many hip specialists consider MRI the cornerstone investigation when assessing intra-articular damage associated with FAI, given the high definition of the image and results. Step 3: CT Scan CT scanning is generally reserved for surgical planning or when a very detailed understanding of the hip’s bony anatomy is required. CT provides excellent visualisation of bone structure, but it is not usually necessary as an initial investigation. So, When Should You Get a Scan? In my clinical opinion, based on current evidence, imaging becomes worthwhile when: Hip or groin pain has persisted for more than 6–12 weeks Symptoms continue despite appropriate rehabilitation The range of motion is progressively decreasing Mechanical symptoms such as catching, locking or giving way are present, and are painful Surgery is being considered The diagnosis remains unclear after clinical assessment If your symptoms are mild and improving with treatment and exercise, I would not bother to get an image taken. Exercises are a great way to maintain hip pain-free and keep your body going. Exercise Protocol for FAI This is where we need to put some focus: Exercises! So, first things first, when someone presents with a FAI, we want to take away or modify the habit that we can, in order to reduce discomfort and hip pain. An example could be removing squat from an exercise program or reducing the time spent in a seated position. Next, we would start looking into your mobility capacity at the ankle level, especially if you are someone who runs as part of a sports activity. And all of this is part of a protocol […]
Tag Archives: FAI
Blog
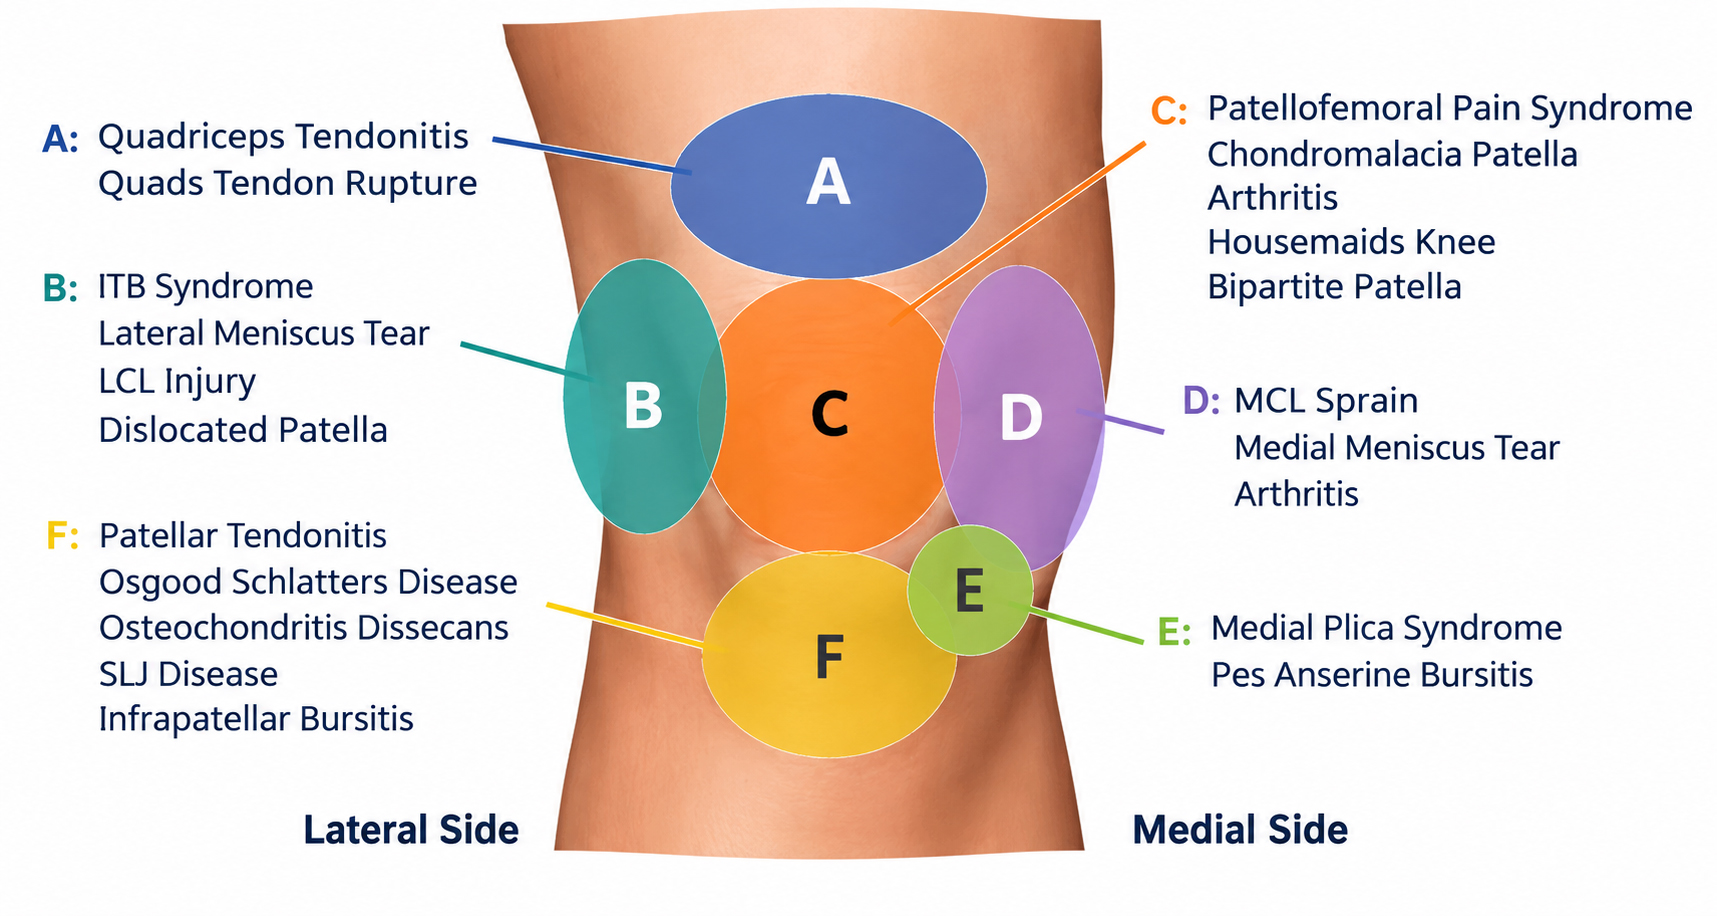
Knee Pain in Coburg
Knee pain is a common form of injury and can affect people of all ages [...]
Continue readingSep

Blog
Post-Surgery MLD Melbourne – Vodder MLD Therapist
Any form of surgery is an invasive procedure for the body to deal with, and [...]
Continue readingSep
Blog
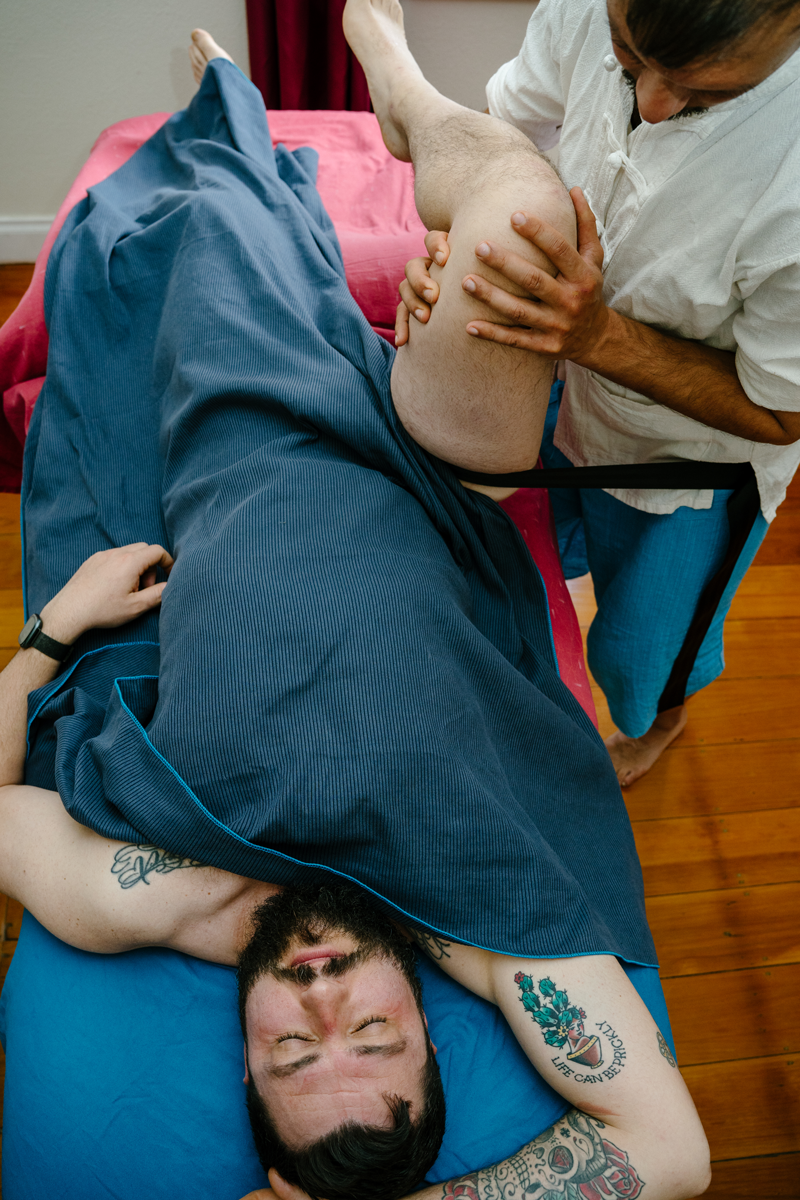
Hip Pain in Coburg: Causes, Symptoms & Treatment
In the many presentations I get to see here at Melbourne Massage and Treatment in [...]
Continue readingSep

Blog
Lymphatic Walking: Let Me Tell You Why It Is Another Trend
Lymphatic Walking is another trend that you really don’t need to overthink. But let me [...]
Continue readingAug
Blog
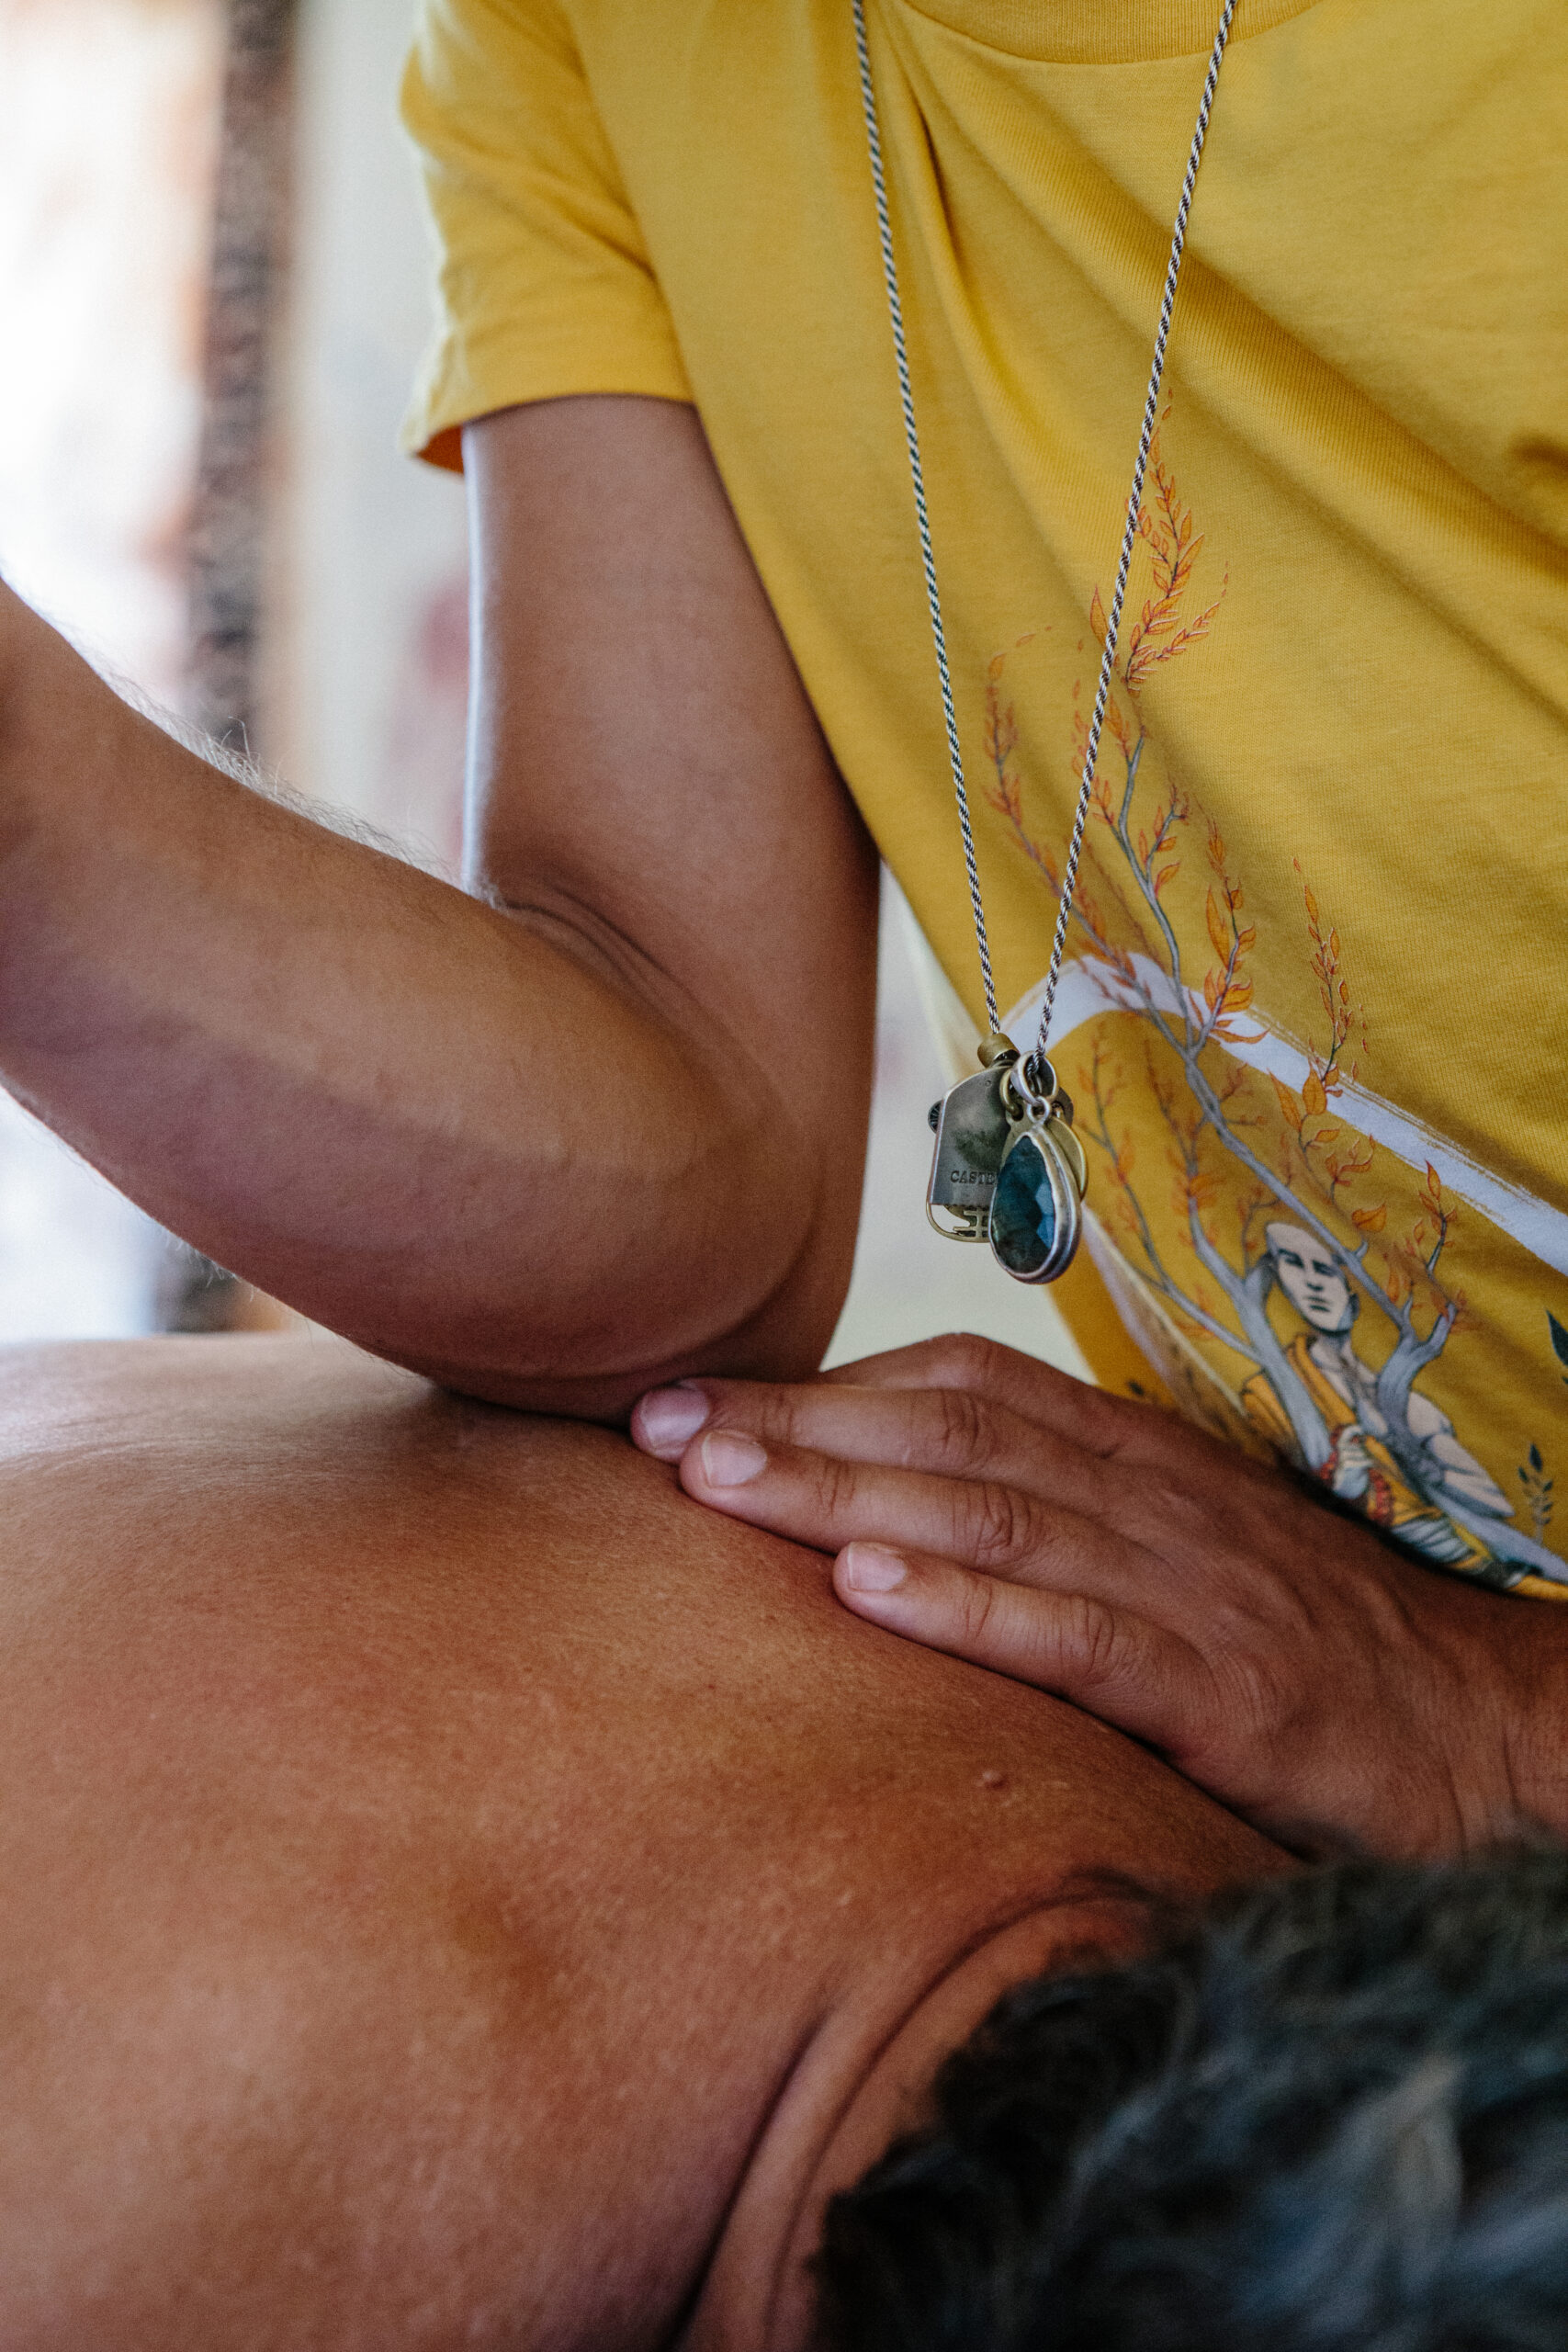
Shoulder Pain in Coburg: Myotherapy Can Help You
Shoulder pain is a common presentation I get to see and treat here at my [...]
Continue readingAug

Oct
As a clinical myotherapist who sees clients regularly seeking help for injuries and chronic pain, which are often related to sports or gym injuries, if there is one thing that I never stop telling my clients, it is: Before you start lifting weights, look into your mobility capacity. In this blog, I will run through the concept of Mobility Joint, Stability Joint and Strengthening. This is the order in which anyone who is interested in their well-being and sport performance should approach their physical activity. Therefore, Mobility is the degree to which a joint can move before being restricted by surrounding tissues. Not all the joints taught are considered mobility joints. Indeed, some are considered stable joints. The Mobility and Motility Joints Theory As it is clear now, the body is made of two types of joints when we look at their functionality and not conformity. Starting from the big toe joint and moving up the body to the upper cervical joints, we can count one by one a mobility joint alternating with a stability joint. So this would be like this: Big toes – Mobile Metatarsal – Stable Ankle – Mobile Knee – Stable Hip – Mobile Lumbar -Stable Thoracic – Mobile Lower Cervical (C3-C7) – Stable Upper Cervical (C1-C2) – Mobile Shoulder (AC joint) – Mobile Elbow – Stable Wrist – Mobile Hand Tarsal – Stable Fingers – Mobile Basic Differences Between Mobile and Stable Joints Mobile joints move in more planes than stable ones Stable joints are designed to prioritise support Mobile joints are more prone to dislocation, given their more exposed structure, and this is more likely when muscles surrounding those joints are weak The body’s optimal movement is a balance between mobile and stable joint individual capacities. What to Train First? If we are planning to start a fitness journey, for whatever reason, the first thing I always suggest to my clients is to check and evaluate their mobility. This can be done with a few simple tests, and improved (to a maximum extent, which is different for each individual) with mobility exercises. Indeed, someone may present with a restricted capacity at their mobile joints, as their natural consistency of ligaments is really stiff. This is what we call someone hypomobile. On the other hand, the opposite presentation would be hypermobility. Two individuals who present with those basic capacities of movement would need to start with a different approach to training, and possibly, even along the way, two different ways to warm up, before they start to lift heavy. Beighton Score – Let’s Look Into Your Mobility Capacity When I want to assess a client’s capacity for mobility, or overall hypomobility, I use the Beighton Score, where each joint that we test can refer to 1 point if it responds with hypermobility (maximum 9 points): Passive dorsiflexion of the middle or index finger >90° 1 point each side (2 points total) Passive thumb apposition to the forearm Thumb can touch the forearm 1 point each side (2 points total) Elbow hyperextension >10° 1 point each side (2 points total) Knee hyperextension >10° 1 point each side (2 points total) Forward flexion of the trunk with knees straight Palms flat on the floor (1 point) Interpretation: 0–3 points: Generally considered within normal mobility range 4–5 points: Increased joint laxity (depends on age, sex, and population) ≥6 points: Generalised joint hypermobility (commonly used threshold in adults) What to be aware of: One thing to be aware of when using this test is that the Beighton Score measures laxity, not necessarily functional mobility. Someone can score high but still have poor movement control or stability in other specific joints (for example, lack of thoracic rotation). Therefore, as a clinical myotherapist, I do combine this test with: Active ROM assessment Strength testing Joint control/stability tests Functional movement screening (squat, lunge, overhead movement) How To Improve Your Mobility? In order to improve mobility, we need to focus on mobility exercises. Often these types of exercises are simple and possible to do in any environment. A basic example would be opening the book for thoracic rotation or a cat and cow for spine flexion and extension. Other mobility exercises include the ankle passive dorsiflexion on an inclined plane. The aim of these exercises is not to cause inflammation and tissue growth, but to stimulate your joints to get to a greater range of motion. That said, in an adult, it is not always possible to reach optimal mobility because of some bone prominences or previous injury. So we do our best to get to where we can, and we work with that. Mobility exercises can be practised daily, and for those who are hypomobile, it would probably become a mandatory warm-up routine, pre-heavy lifting. If Mobility Is Not The Issue, The Next Step Is Stability Training If mobility is not a limitation, then we can start looking into training your stability joints. Training the stability joint is not a direct training of the joint per se, but it is the strengthening of the muscle that cuts across that joint. So let’s use the knee as an example. The knee joint is considered a stable joint; indeed, it is capable of mainly 2 direction movement: flexion and extension (from a flexed pose). There is some rotation, but it’s really limited. Now, in order to train its stability, we want to put effort on the quads muscles, on the hamstrings, and on the calf muscles. In this last case, specifically the gastrocnemius. Indeed, all those muscles or muscle groups originate and insert on the opposite side of the knee position when looking at its longitudinal line. Indeed, they all originate proximal to the knee and insert distally to the knee. This ensures the knee is wrapped within those muscle fibres, and its ligaments, ACL, PCL, MCL, LCL, are supported in their job, especially if lax or even missing. An effective and easy way to train those muscles is: Quad curl for quadriceps […]